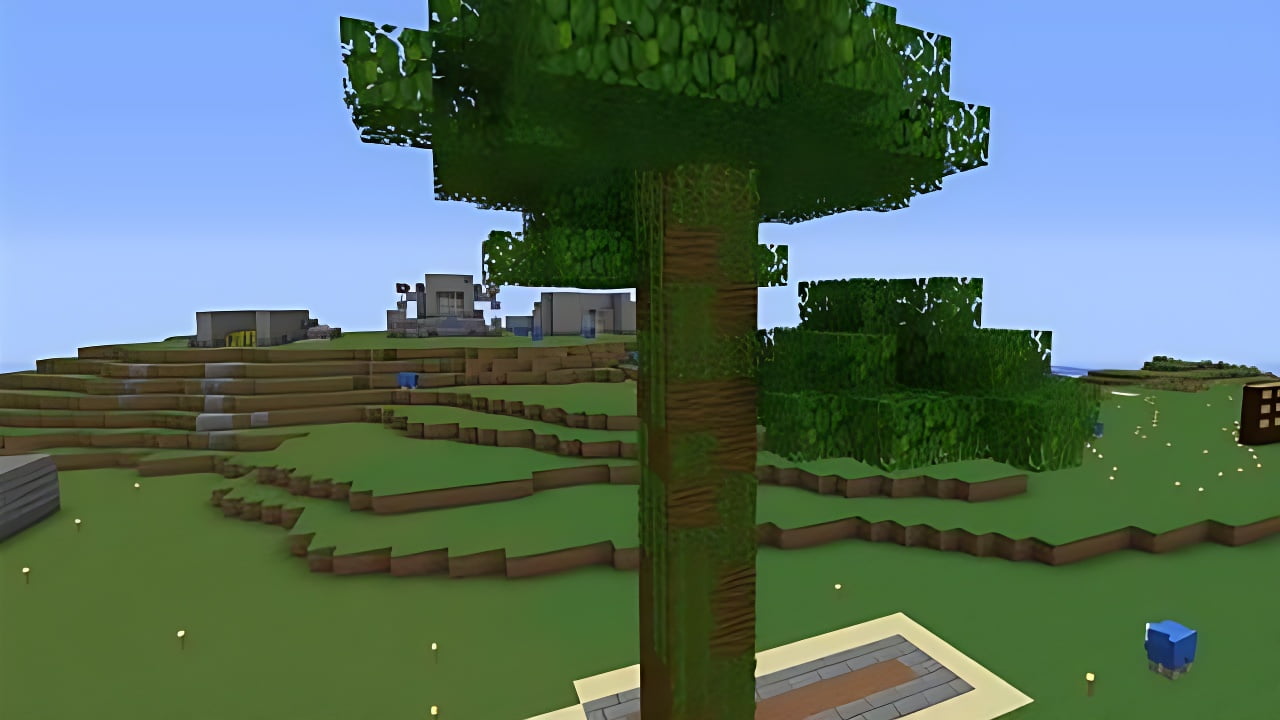
Minecraft, with its pixelated landscapes and endless possibilities, often requires players to gather resources, and one fundamental resource is wood. In this tutorial, we will guide you through the simple yet crucial process of chopping down a tree in Minecraft.
Follow these step-by-step instructions, accompanied by screenshots, to ensure you efficiently collect wood for your Minecraft adventures.
Steps to Chop Down a Tree
Step 1: Find a Tree
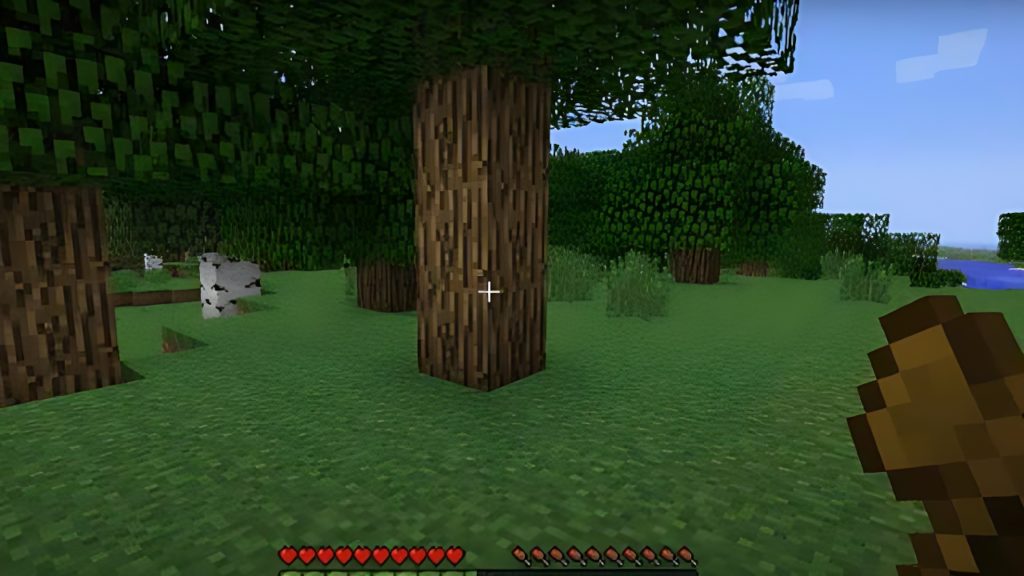
The first step in obtaining wood in Minecraft is locating a suitable tree. There are six different types of trees in the game: oak, spruce, birch, jungle, acacia, and dark oak. In this example, we will focus on chopping down an oak tree.
Step 2: Target the Tree Trunk
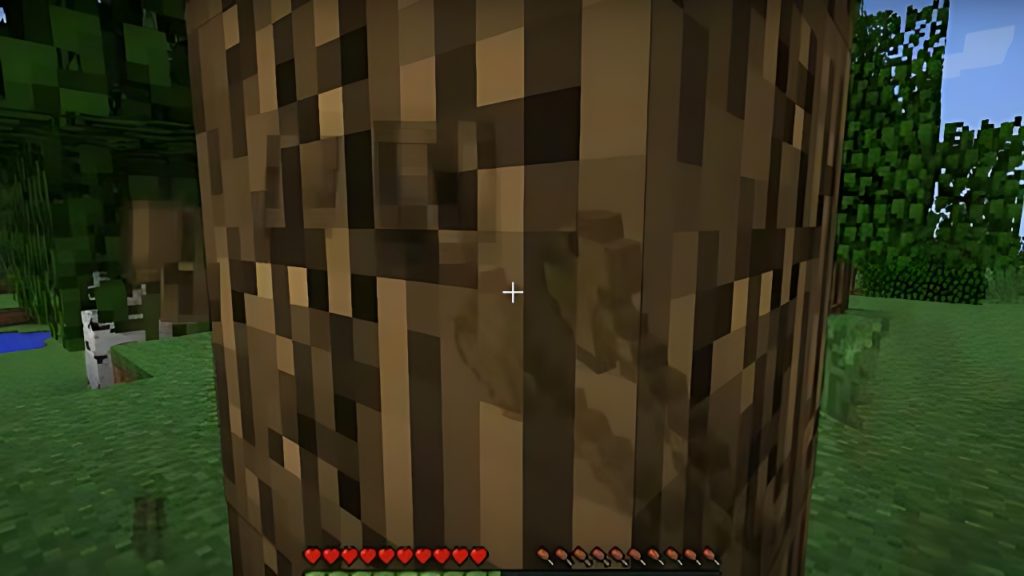
Once you’ve identified your chosen tree, move closer to it, and position your pointer (the plus sign) somewhere on the tree trunk. You should notice the block becoming highlighted in your game window, indicating that you are ready to proceed.
Step 3: Chop the Tree
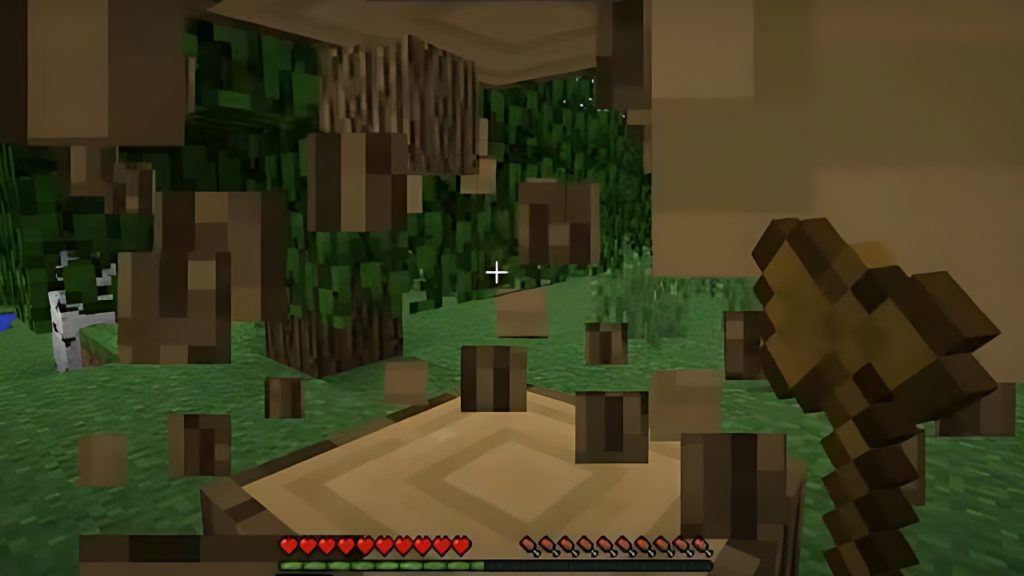
Now, it’s time to start chopping down the tree. The method varies depending on the version of Minecraft you are playing:
- Java Edition (PC/Mac): Left-click and hold on the tree.
- Pocket Edition (PE): Tap and hold on the tree.
- Xbox 360 and Xbox One: Press and hold the RT button on the Xbox controller.
- PS3 and PS4: Press and hold the R2 button on the PS controller.
- Wii U: Press and hold the ZR button on the gamepad.
- Nintendo Switch: Press and hold the ZR button on the controller.
- Windows 10 Edition: Left-click and hold on the tree.
- Education Edition: Left-click and hold on the tree.
Note: Keep chopping until the block breaks. In Survival mode, the block of wood will float on the ground, so be sure to pick it up before it disappears.
Step 4: Collect the Wood
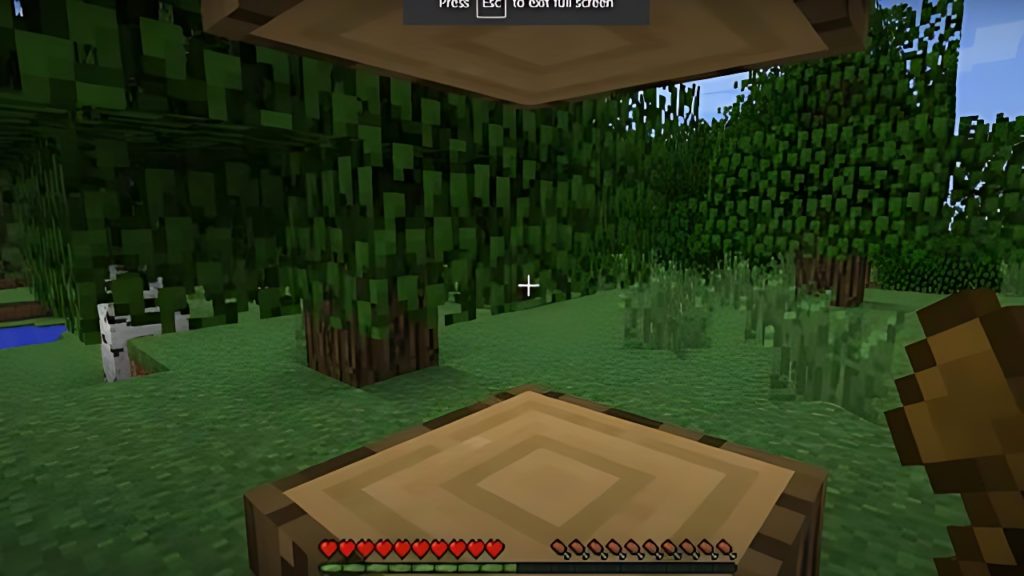
Congratulations, you’ve successfully chopped down the tree! To collect the wood, ensure you pick up the wooden blocks that drop. The wood will appear in the first empty box in your hotbar.
Step 5: Use Wood Wisely
Wood is a versatile and essential resource in Minecraft. Store it in your inventory for future use in crafting tools, building structures, or fueling furnaces. Be mindful of its utility, as wood serves as a foundational material for various items in the game.
By following these straightforward steps, you have mastered the art of chopping down a tree in Minecraft. Whether you’re a beginner or an experienced player, efficient resource gathering is key to thriving in the diverse and block-filled world of Minecraft.

